
I absolutely love the convenience of being able to stream music through the Google Home speakers spread throughout my house. It’s honestly one of my main uses of the system, that and giving Google unfettered access to my personal life (thanks Google, love ya!).
On the same flip of the coin, I also love collecting and listening to vinyl records because reasons. Now, I’m not going to get all high and mighty about the pure sound quality, blah blah blah. I don’t consider myself an audiophile by any sense of the word. In fact, the setup presented below, as well as my current turntable, would likely make any real audiophile balk. Suffice to say I just think records are neat, the variety of colors they come in today in addition to the artwork and extra goodies you’re able to fit into a 12″ sleeve are just dope. This is not even mentioning the fact that many records come with MP3 or in some cases uncompressed downloads of the tracks. It’s owning a physical copy in the purest sense, with the convince of living in a digital world.
But I’m not here to sell you on vinyl ownership, as a person who has had to move their collection more than once, there are downsides. With that, onto the guide.
To get this up and running I used a combination of guides to best suit my needs and specific setup. I’ll list them here as helpful troubleshooting steps. Most of these steps below came from one of these guides, laid out with my interpretation.
Materials
Here’s what I used to get this up and running as well as some options for other hardware if needed:
- Raspberry Pi 3 Model B
- Ion TTUSB Turntable
- Micro SD card 2GB or larger
- SD card slot or USB adapter
- Android device to act as the cast sender
That’s it! My setup is simplified due to the fact that my turntable can output directly to USB and is supported by the Raspberry Pi. However, if you have one of the vast majority of record players with standard audio out, you’ll need something like this. Final audio note, this will need to be on the other side of a preamp if your player only has line level output. I’ve seen this setup done with a lowly Raspberry Pi Zero, so any Pi should work just fine.
Method
Installing Raspbian
There are many ways to get Raspbian installed on your Pi. First thing’s first, grab the latest download of Raspbian from here.
What you’ve just downloaded is a zipped image of a complete Raspbian install. There are many ways to copy this image to a SD card appropriate for your Pi, my personal favorite is Etcher.

However, there’s also official instructions for using Win32DiskImager on Windows or the dd tool built into macOS. If you’re on Windows, it’s a good idea to download Win32DiskImager anyway as we’ll be using it later.
Initial Raspbian Setup
We need to get a few things configured off the bat, easiest way to do this is hook your Pi up to a monitor, keyboard, and mouse.
If you’re using a recent version of Raspbian, the OS will automatically guide you through some initial settings like setting your localisation options, resetting the password for the default user pi, and connecting to your wireless network.
Once that initial setup is complete, there’s a few more items to configure. Load up Raspberry Menu -> Preferences -> Raspberry Pi Configuration
- Under System ->
- (If desired) change the Hostname to something other than raspberrypi.
- Select To CLI under Boot. This will prevent the desktop GUI from loading which will save on resources.
- Deselect Login as user ‘pi’ under Auto Login. This isn’t necessary for this setup.
- Under Interfaces ->
- Ensure SSH is set to Enable
Click OK to save your changes
Setting a Static IP address
Depending on whether or not your network can cache and resolve local hostnames, you may be able to get away with using a DHCP address, if not setting a static is easy as pie. That will be the only time that joke is used.
Fire up the Terminal and run:
sudo nano /etc/dhcpcd.confAt the end of this file, append:
interface wlan0
static ip_address=192.168.1.250/24
static routers=192.168.1.1
static domain_name_servers=8.8.8.8 8.8.4.4
Substitute the IP, router, and DNS servers for the ones appropriate for your network. When you’re done, press Ctrl+X and select Y to save. If you’re plugging your Pi in with an Ethernet cable instead of wireless, you’ll be setting a static IP for interface eth0.
At this point you’re ready to shut your Pi down and plug it in at your turntable. Plug the USB cable for your turntable or audio adapter into any open USB port and power it on.
Connect to your Pi remotely
Once you give it a minute to boot up in its new location. SSH into the device using PuTTY on Windows or the built in ssh command in the macOS or Linux terminals. For mac/Linux, you’ll type the following substituting the Static IP or hostname you set:
ssh pi@192.168.1.250Install and Configure DarkIce
Update your Raspbian sources:
sudo apt-get updateInstall DarkIce and utilities:
sudo apt-get -y install aptitude apt-utils sudo unzip autoconf libtool libtool-bin checkinstall libssl-dev libasound2-dev libmp3lame-dev libpulse-dev alsa-utils avahi-daemon darkiceI’m going to be real with you here. This is copied directly from coreyk’s guide and I would bet that you can get by without a lot of these extra tools since we’re not trying to inject AAC support like they were. I just ran with it, but for the security conscious you can try to pick and choose what to install. The apt command is smart enough to pick up all needed dependencies for installing the DarkIce package.
Before we configure DarkIce, we need to confirm the location of our turntable or audio device and make sure it’s showing up in the system. To do do run:
arecord -lYou should see an output similar to this:
**** List of CAPTURE Hardware Devices ****
 card 1: CODEC [USB Audio CODEC], device 0: USB Audio [USB Audio]
   Subdevices: 0/1
   Subdevice #0: subdevice #0
The important thing we want to note down here is that our device is number 0 of card 1, this will come into play in the configuration script.
Configure DarkIce
sudo nano /etc/darkice.cfgCopy the text below to this new file. The only line you may need to change is device if your output for arecord -l was anything other than device 0 of card 1.
# based on guide by coreyk
# this section describes general aspects of the live streaming session
[general]
duration        = 0         # duration of encoding, in seconds. 0 means forever
bufferSecs      = 1         # size of internal slip buffer, in seconds
reconnect       = yes       # reconnect to the server(s) if disconnected
realtime        = yes       # run the encoder with POSIX realtime priority
rtprio          = 3         # scheduling priority for the realtime threads

# this section describes the audio input that will be streamed
[input]
device          = hw:1,0    # OSS DSP soundcard device for the audio input
sampleRate      = 48000     # other settings have crackling audo, esp. 44100
bitsPerSample   = 16        # bits per sample. try 16
channel         = 2         # channels. 1 = mono, 2 = stereo

# this section describes a streaming connection to an IceCast2 server
# there may be up to 8 of these sections, named [icecast2-0] ... [icecast2-7]
# these can be mixed with [icecast-x] and [shoutcast-x] sections
[icecast2-0]
bitrateMode     = cbr
format          = mp3
bitrate         = 320
server          = vinylcast
port            = 80
password        = vinylpwd
mountPoint      = vinyl
name            = VinylCast
description     = DarkIce on Raspberry Pi
genre           = vinyl
public          = no
Install and Configure Icecast 2
sudo apt-get install icecast2The Icecast installer will automatically ask you to configure Icecast, select Yes.
- Update the hostname to vinylcast.
- Set all passwords to vinylpwd. Or whatever you choose, if you set it to something other than this, make sure to change the password used in darkice.cfg.
Next we’ll edit the Icecast2 configuration file to disable “burst-on-connect” since this stream is being sent locally this is not needed and will reduce latency on your stream.
sudo nano /etc/icecast2/icecast.xml<burst-on-connect>0</burst-on-connect>Tweaks to make DarkIce work better with Icecast2
We’ll make a few edits to the darkice init file to adjust the startup and shutdown of the service.
sudo nano /etc/init.d/darkiceFind the following line and add -m right before –pidfile:
start-stop-daemon --start --quiet -m --pidfile $PIDFILE \Find the following lines and add –no-close right before $DAEMON:
start_server() {
# Start the process using the wrapper
        start-stop-daemon --start --quiet --make-pidfile --pidfile $PIDFILE \
            --background --chuid $USER:$GROUP --no-close --exec $DAEMON -- $DAEMON_OPTS
        errcode=$?
        return $errcode
}
Find the following lines and add sleep 1:
running() {
 Check if the process is running looking at /proc
 (works for all users)
 sleep 1
Grant DarkIce the ability to set realtime scheduling requests:
sudo setcap cap_sys_nice=+ep `which darkice`Edit DarkIce default config and ensure that RUN=yes:
sudo nano /etc/default/darkiceReload the daemons:
sudo systemctl daemon-reloadDarkIce uses the default user nobody, so we’ll add them to the audio group:
sudo adduser nobody audioFinally, we’ll fix a potential problem of DarkIce starting too early by running:
sudo update-rc.d -f darkice remove
sudo update-rc.d darkice defaults 99
Change IceCast’s Default Port
By default Icecast uses port 8000 for its web interface. In the /etc/darkice.cfg file listed above, I have the port set to 80 so the interface is available instead at just http://(IP_or_hostname)/vinyl
To finish binding Icecast to port 80:
sudo setcap 'cap_net_bind_service=+ep' `which icecast2`Remote Shutdown and Reboot
Borrowing a neat script from mykter’s guide, we’re going to add web request listeners to remotely shut down or reboot your Pi using browser bookmarks. It should be noted that this method is insecure since it’s running as root, but convenience.
Edit the rc.local file:
sudo nano /etc/rc.localRemove anything currently in the file and paste:
#!/usr/bin/env python3

from http.server import BaseHTTPRequestHandler, HTTPServer
from urllib import parse
import subprocess

# HTTPRequestHandler class
class handler(BaseHTTPRequestHandler):
    def do_GET(self):
        parsed_path = parse.urlparse(self.path).path
        if parsed_path in ['/reboot','/restart']:
            code = 200
            message = "Rebooting..."
            subprocess.Popen(["shutdown", "-r", "now"]) # will run concurrently
        elif parsed_path in ['/halt','/shutdown','/stop']:
            code = 200
            message = "Shutting down..."
            subprocess.Popen(["shutdown", "-h", "now"]) # will run concurrently
        else:
            code = 404
            message = "Not found. Available paths: /reboot, /halt\n"

        self.send_response(code)
        self.send_header('Content-type','text/html')
        self.end_headers()

        # Send response to client as utf8
        self.wfile.write(bytes(message, "utf8"))
        return

def run():
    # bind to all addresses, unprivileged port
    server_address = ('', 8000)
    httpd = HTTPServer(server_address, handler)
    print('running server...')
    httpd.serve_forever()

run()
In your web browser of choice make two custom bookmarks:
- http://(IP_or_hostname):8000/shutdown
- http://(IP_or_hostname):8000/reboot
The First Test
At this point everything should be configured. You’re ready to reboot your Pi and give it a try:
sudo rebootOnce your Pi loads back up, navigate to http://(IP_or_hostname), you should see a screen similar to this:

You can test your stream by clicking the M3U link in the top right and loading up the file in an app like VLC.
Wrapping it up
The final piece of the puzzle is casting the stream to your Google Home devices using a simple Android app adapted by Guy Dupont who wrote the original Medium article that led me down this path.
Guy is kind enough to offer some basic steps for compiling the app yourself, but having never touched Android Studio before, I ran into a few issues that I won’t get into here.
For your convenience I’m linking the app I was able to compile for download here. But if you don’t trust me (and why would you, I’m just some guy on the internet…) I’ll also list the steps to compile it yourself in a separate post.
Install the Casting App
Once you download the linked app above to your phone, you’ll need to alter some security settings since this is a bare unsigned apk, which the Android OS does not like, for good reason. But as long as you trust the source or complied this yourself, you’re relatively safe.
Android 8.0+
We’re going to grant the Files app to Install unknown apps by going to Settings -> Apps & notifications -> Advanced -> Special app access -> Install unknown apps. I usually use Amaze File Manager on my device and I tried giving the same permissions to it instead, but it still was giving me trouble installing, so I gave the Google Files app a try.
Scroll to Files and tap the slider for Allow from this source to enable.

Navigate to the apk in the Files app and tap install. Accept any further security warnings. The app will show up in your launcher as VinylCast2.
Older versions of android
Go to Settings -> Security (or Lock screen and security). Toggle the slider for Unknown Sources.
Open the file in the file manager of your choice and install. The app will show up in your launcher as VinylCast2.
Using the VinylCast2 App
The app itself is very bare bones. You’ll have a field to enter the address of your Icecast stream and a cast button, that’s it.
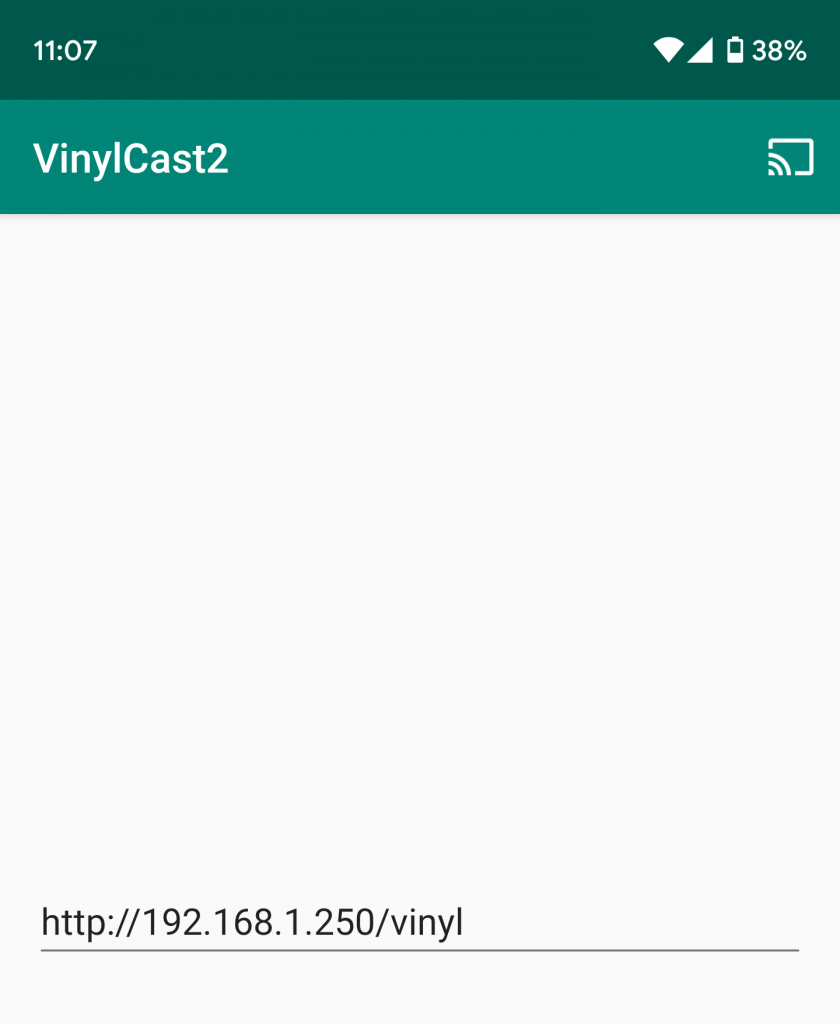
Luckily I have noticed that the URL seems to be persistent, even when you close the app, so you won’t have to keep typing it in.
Potential Alternatives for Casting
If you have trouble using this app, or would like to use an option that doesn’t require these security options then you’re in luck. I initially gave up on compiling the app and tried different options to varying levels of success.
- LocalCast – This is able to load and cast the stream and works most of the time, but it was just doing too much for me and the pesky ads were a turnoff. It would also sometimes complain about the stream not being a video stream.
- VLC for Android – This worked great at first, but I found that the stream kept dropping after a few minutes.
I should also mention that both of these apps appeared to have trouble addressing groups of Google cast devices, sometimes choosing to cast to only one or some.
That’s It!

At this point you should have a fully functioning streaming device and casting app. Enjoy your favorite records with 21st-ish century convenience.
One quirk you will notice is that the stream audio is delayed about 10 seconds. I suspect this has to do with the hardware limitations of the Pi, even with the relatively speedy 3 Model B I’m using. I’d be interested to see if anyone using older or newer Pi’s have the same or different delays.
Not Just for Google Home
I initially started this project with a specific goal of casting my turntable to my Google Home devices, however this setup is not just limited to them. The M3U stream generated by the Pi is a standard internet streaming file. You’ll find that you can open it with a variety of apps like VLC, iTunes/Apple Music, Windows Media Player, etc. You can also add it as a source for a Sonos system.
Footnotes: Troubleshooting and Maintenance
Audio Volume
This is not something I dove into in my guide, because my Ion turntable has a physical gain knob for the audio output. However, if your sound card or turntable needs to be boosted you can follow this section in basdp’s guide.
Back up your Files!
SD card corruption on the Pi is real and I’ve been burned by it in the past. Too many dirty shutdowns due to power loss will leave your OS in a sad state.
At the very least, you should create backup copies the configuration files we built out here. Ultimately, I have started taking image backups of my Pi projects since storage is cheap and time is valuable.
I used this guide with Win32DiskImager to take a complete backup. One thing I was not sure about at first was the fact that the SD card is formatted with a FAT32 boot partition and the system partition whose file format is not readable by Windows. Rest assured when selecting your card, select the FAT32 boot drive letter and the app will pick up both.